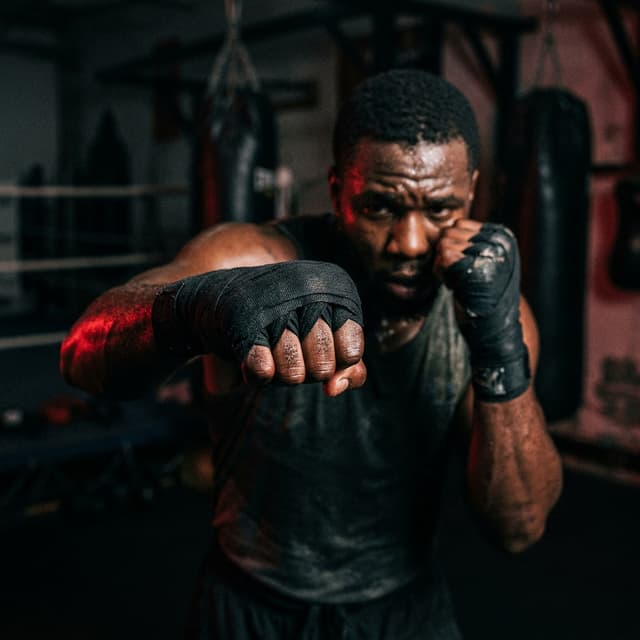
A straight cross is fast, but it travels in a direct line. If your opponent has a tight guard or a height advantage, straight punches often land on their gloves or forehead. The overhand right is the solution to a tall or tight defense. It is a looping power punch thrown in a downward arc.
The overhand right differs from a hook or a cross. It loops over the opponent's lead hand, bypassing their guard to land on the chin or temple. Because the punch requires you to slip your head off the centerline, it also acts as a defensive movement against your opponent's jab.
This guide details the biomechanics of the overhand right, explains its step-by-step execution, and outlines the training drills required to master this looping power shot.
Historical Spotlight: Marciano's "Susie Q"
The ultimate master of the overhand right was Rocky Marciano. Undefeated as a heavyweight, Marciano was short for the division (5'10") and had the shortest reach of any heavyweight champion (68 inches). To overcome these physical limitations, he relied on a looping overhand right he nicknamed the "Susie Q."
Marciano used this punch to knock out Jersey Joe Walcott in their 1952 championship bout. Walcott was an elusive mover with a long jab. Marciano slipped outside Walcott's jab, dropped his level, and threw a looping overhand right that landed flush on Walcott's chin.
Marciano's execution was biomechanically extreme: he bent his knees deep, rotated his torso until his back was almost facing Walcott, and launched his weight forward. The impact force was massive because his entire body weight moved behind the looping arc.
Advanced Biomechanics: Scapular Path and Impingement Prevention
To throw a safe and powerful overhand right, you must understand the kinetic chain and shoulder joint mechanics.
Scapular Retraction and Protraction
The overhand right relies on maximum shoulder girdle movement. As you prepare the punch, you must retract your right scapula (shoulder blade), pulling it back toward your spine.
As the hand launches, you transition to rapid scapular protraction, pushing the shoulder blade forward and outward. This action extends your reach by several inches and adds the mass of your shoulder girdle to the punch.
Joint Alignment and Shoulder Impingement
Lifting your elbow during the overhand right can cause shoulder impingement (pinching of the supraspinatus tendon against the acromion process) if you do not rotate your arm correctly.
- The Correction: You must pronate your wrist (rotate your hand so the palm faces outward and downward) as the arm lifts. This rotation aligns the humerus bone within the shoulder socket, clearing space for the tendons to slide without pinch or friction.
- Elbow Angle: Keep your elbow bent at an angle between 90 and 110 degrees. Do not straighten the arm completely; a locked elbow on impact transfers the force back into your elbow and shoulder joints, causing joint strain or dislocation.
Step-by-Step Execution: Orthodox Overhand Right
Follow this sequence to throw the overhand right over an opponent's jab.
1. The Setup
Do not throw the overhand right cold. A naked overhand is easy to see and counter. Set it up with a jab. Throw a hard jab to the opponent's face to force their hands up, or jab to the body to force them to look down.
2. The Slip and Step
Step your lead (left) foot slightly forward and to the left (about 2 to 3 inches). As you step, slip your head to the left, positioning it outside the path of the opponent's jab. Tuck your chin against your left collarbone.
3. The Launch
Push hard off the ball of your rear foot. Raise your right elbow to shoulder height. Your arm should form a 90-degree to 110-degree bend at the elbow.
4. The Loop
Direct your fist up and over the opponent's lead shoulder. Lean your torso forward, dropping your head to the left. The weight of your falling torso adds gravity-assisted power to the punch.
5. The Impact and Recovery
Land the punch on the opponent's chin or temple. Your left hand must remain glued to the left side of your face throughout the punch. Immediately after impact, pull your right elbow back to your ribs and step your rear foot forward to regain a balanced boxing stance. Do not let your body fall forward if the punch misses.
Tactical Applications
The overhand right is highly effective in specific tactical scenarios.
Countering the Jab
When your opponent throws a jab, their left arm is extended, which leaves the right side of their face open. By slipping to the left and looping the overhand right over their extended arm, you hit their chin while their own arm blocks their view of the incoming punch.
Against Taller Opponents
Taller opponents naturally have a longer reach and a high guard. A straight cross will often hit their gloves. The overhand right loops over their guard and drops onto their head, neutralizing their height advantage.
Inside the Pocket
At close range, the overhand right can be thrown in a tight loop. By dropping your level slightly and throwing the overhand over their shoulder, you can bypass their forearm guard.
Common Mistakes
- Telegraphing: Do not pull your right hand back before throwing the punch. The punch must travel directly from your chin. Winding up gives your opponent time to slip or counter with a left hook.
- Over-leaning: Do not lean so far forward that your head passes your lead knee. Over-leaning ruins your balance. If you miss the punch, you will fall forward, leaving yourself vulnerable to a counter uppercut or clinch.
- Dropping the Left Hand: Beginners often drop their lead hand to their chest when throwing the overhand right. This leaves their face exposed to a counter left hook. Keep your left glove pressed against your temple.
- Landing with the Inside of the Glove: If you do not raise your elbow high enough, the punch will land flat-handed or with the thumb side of the glove. This reduces power and can injure your wrist. Keep the elbow high and rotate the wrist.
Training Drills for the Overhand Right
The Tape Slip Drill
- Tie a string across the ring at shoulder height.
- Stand to the right of the string in your boxing stance.
- Step forward and slip your head under and to the left of the string while throwing the overhand right. The string forces you to drop your head offline and prevents you from standing too tall.
Heavy Bag Height Work
- Draw a target on the heavy bag at the height of your chin.
- Practice throwing the overhand right over a horizontal pool noodle held by a partner or simulated by a bar. This teaches you to loop the punch over the guard rather than pushing it straight.
- Focus on your balance after the punch. Throw the overhand, miss the bag on purpose, and check if you can maintain your stance without falling forward.
Summary Checklist
- Drive from your rear foot and rotate your rear hip.
- Slip your head forward and to the left, offline from straight punches.
- Raise your elbow high to create a downward punch trajectory.
- Rotate your wrist so your palm faces outward and downward on impact.
- Land the punch on the index and middle knuckles.
- Keep your left hand glued to your temple for defense.
- Set up the punch with a jab to obstruct the opponent's vision.
- Avoid over-leaning; keep your head from passing your lead knee.
See these techniques broken down by featured creator Coach Josh.
Ready to Practice?
Put what you learned into action with a guided shadowboxing session or timed heavy bag workout.